Connect to Make (Integromat)
To connect your application to another service (Gmail, Twilio, Airtable...) via Integromat, create a webhook on Integromat.
Integromat allows you to connect PandaSuite with third-party applications to automate workflows. Here are the simple steps to help you use Integromat with PandaSuite.
💡 Knowledge of Integromat required: Please note that it is your responsibility to know how to set up and use Integromat. PandaSuite support cannot help you configure Integromat and/or the services you want to connect your application to.
In this article
1. Create an Integromat account
Go to https://www.integromat.com/.
Create a free account, then create a new scenario.
🤔 You can also use Zapier instead of Integromat.
2. Add a Webhook
Select Webhooks and click the Continue button.

3. Select Custom Webhook
In the list of Triggers, select Custom webhook :
Then click on the Add to define a new webhook.

In the window, customize the webhook name and click Save.

4. Start the request
Find out the unique URL that Integromat will listen for. Integromat needs to determine the data structure so that other modules know what to expect from the webhook. That's why Integromat asks you to send a sample data to the specified address.
Copy and paste this URL into your clipboard: you need it to configure your application in PandaSuite.
Return to PandaSuite Studio to run a query before finalizing the scenario. 
5. Insert the HTTP component
Click on Components and insert a HTTP component to connect to Integromat.
In the properties, insert the webhook URL in the URL field.

Choose the Method to send or receive data. If you want to create a resource, use the POST method.
Choose the content type that will be the object of your request, here JSON.
6. Start the request
Configure the request.
Select a trigger and create a new action : Interact with a component > HTTP > Start the request.
 In the action parameters, choose the content you want to send to Integromat: the text entered by the user, an image etc..
Open the Overview and click this button once.
7. Finalize the scenario
Now that you've made an initial query, Integromat can determine the new structure.
Back in your Integromat scenario, a message appears: Successfully determined.

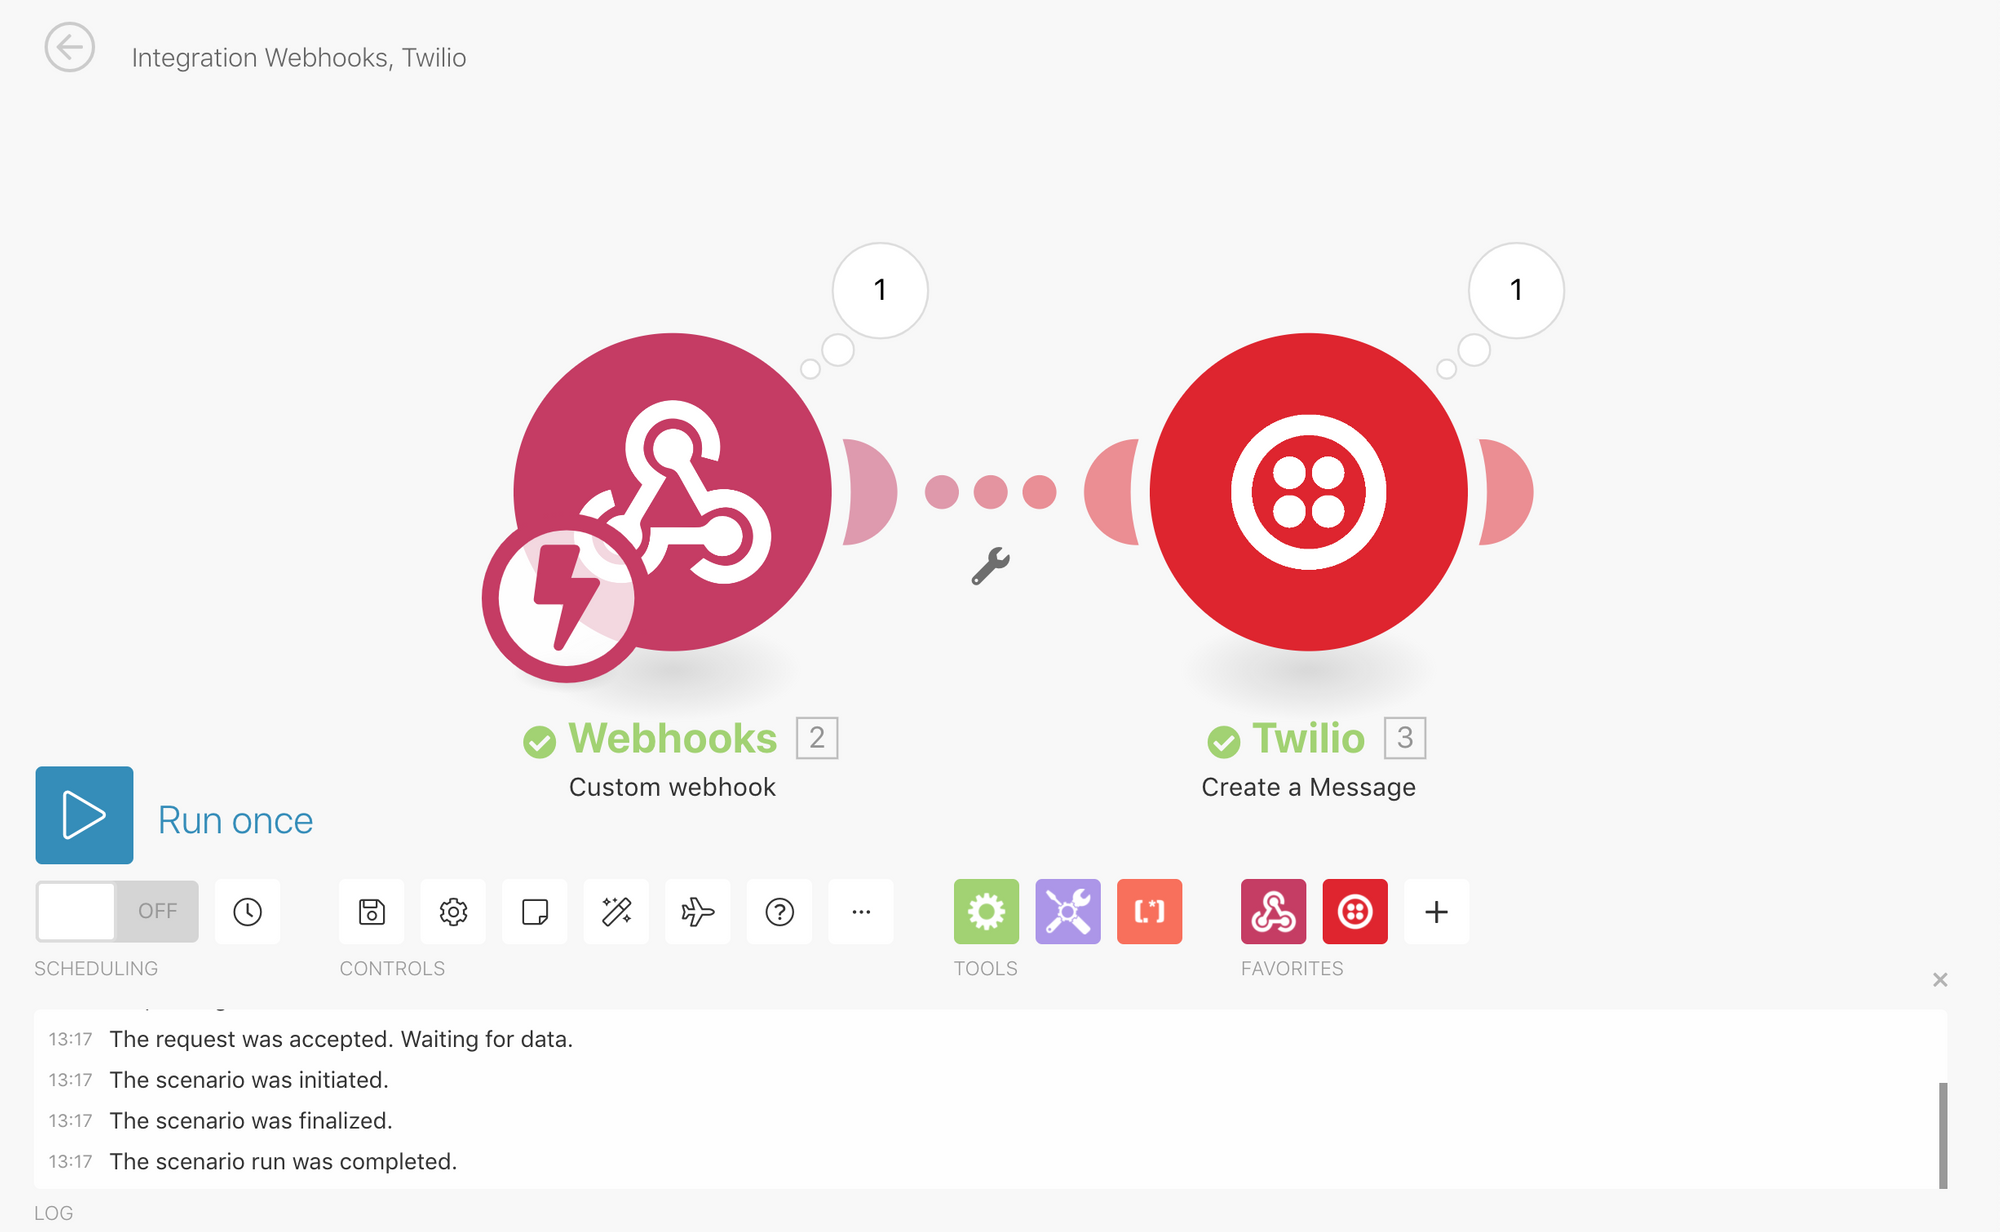
8. Add another module
Now you can add a new module to finalize the scenario. Click Add another module and select the application of your choice.
Click OK to validate scenario.